
今天是周六,用了一天的时间自己尝试做一个UICollectionView。完全是因为昨天看了一整天的UICollectionView的新特性,看得是自我感觉极好,感觉真简单,准备今天用半天时间完成两个Demo。结果还是印证了那句话:自己动手做才知道没那么简单。现记录。
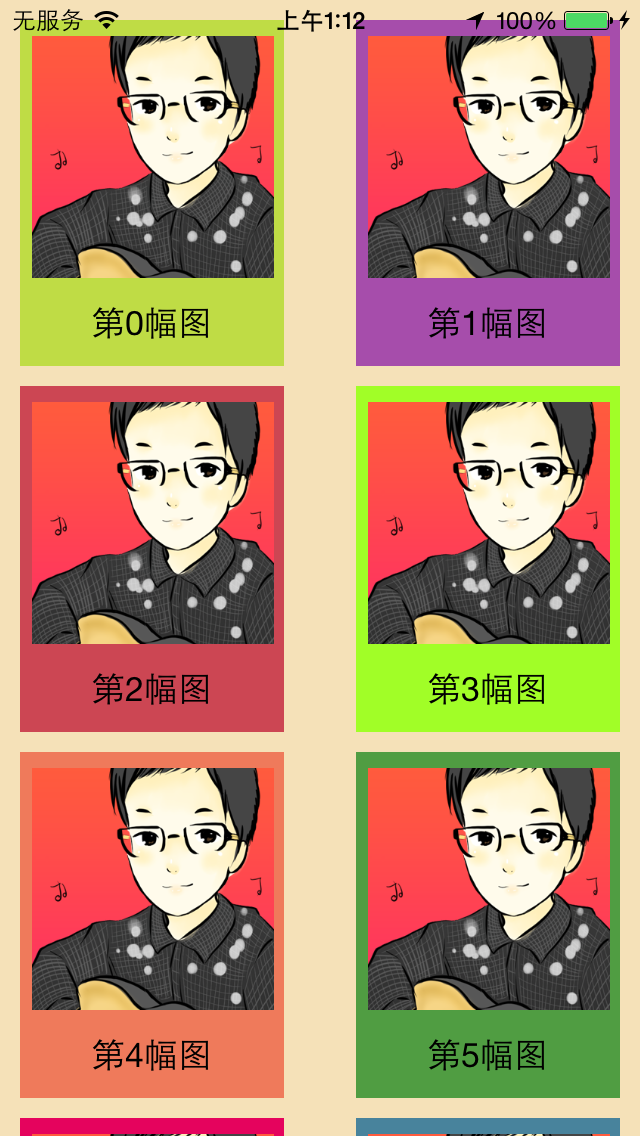
先看效果:
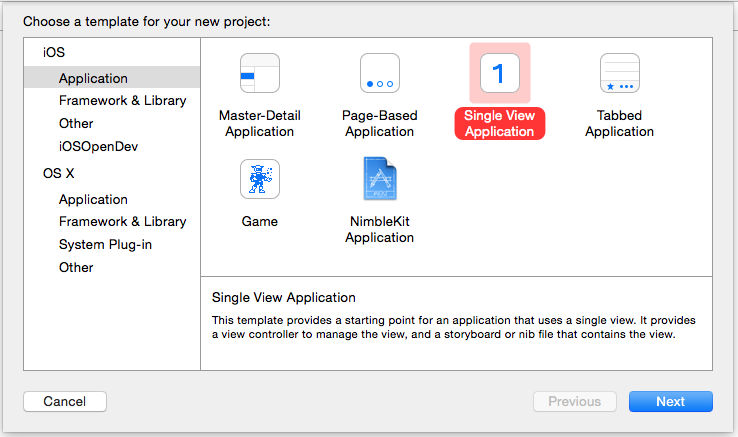
1、新建一个项目
新建一个Single View Application:
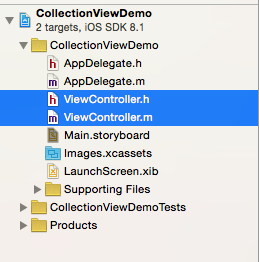
然后把Storyboard中的默认的ViewController视图删掉,接着把文件列表中的ViewController.h和ViewController.m也都删掉:
2、拖拽一个Collection View Controller到Storyboard
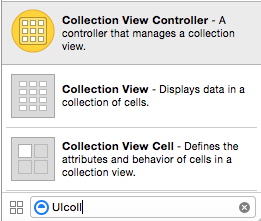
然后大概是这样:
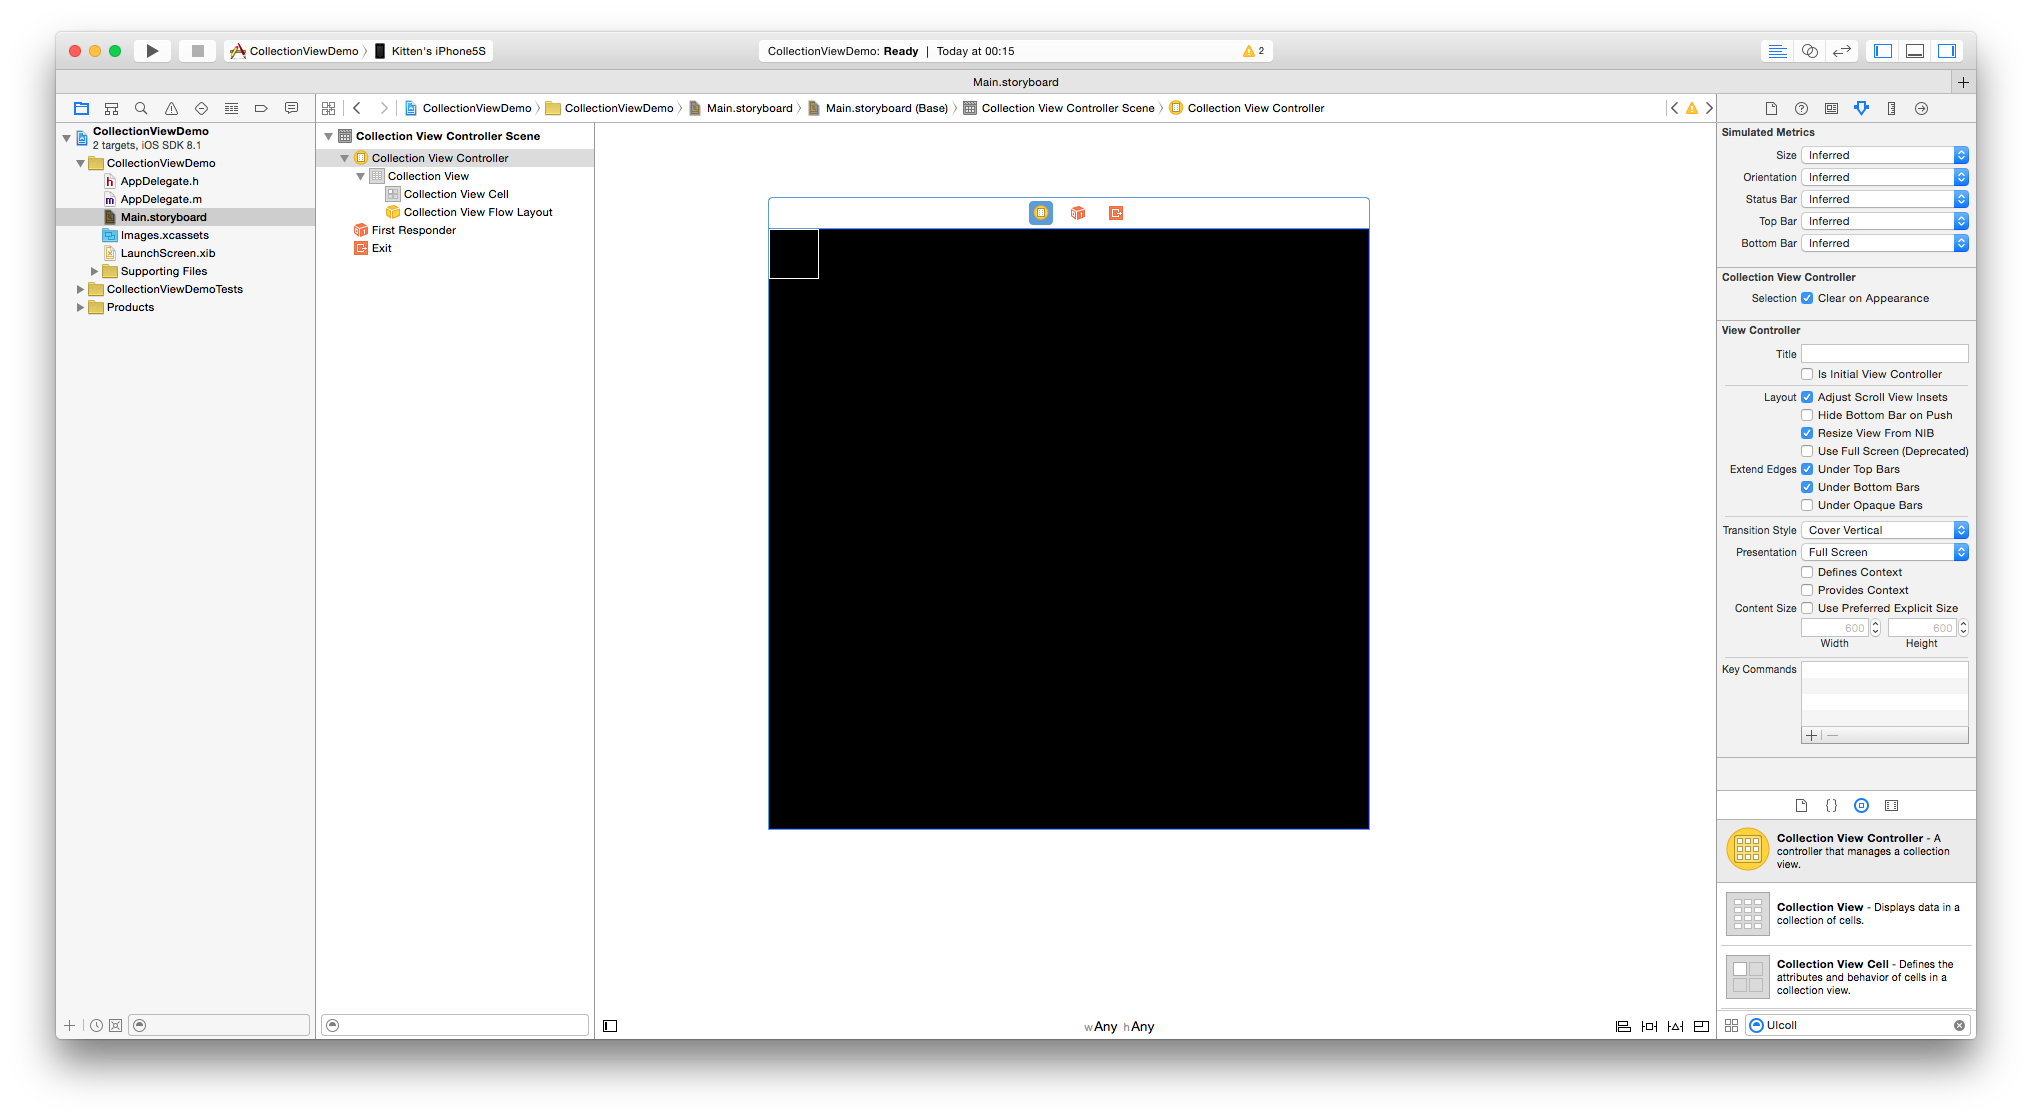
选中Collection View Controller,设置其为 Is Initial View Controller.
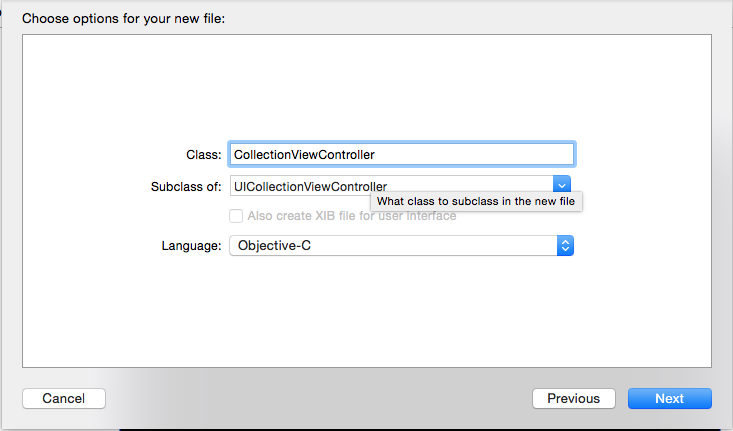
3、New File一个CollectionViewController
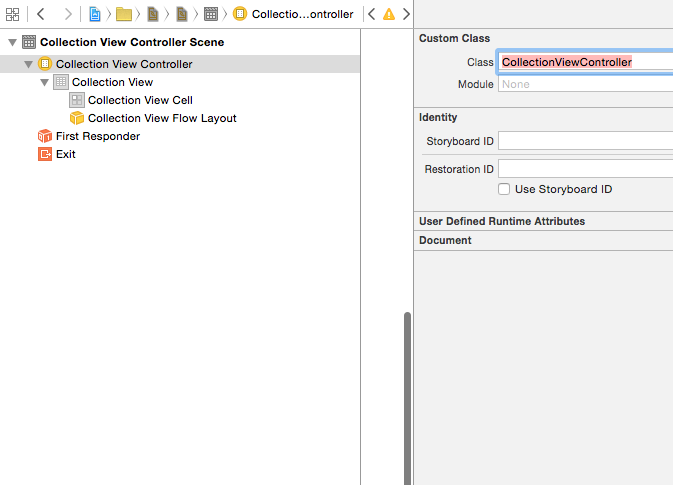
然后回到Storyboard,把这个Collection View Controller控制器作为刚才新建那个文件的子类:
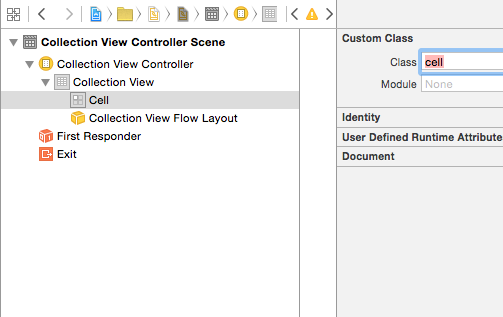
4、New File一个 Cell:UICollectionViewCell
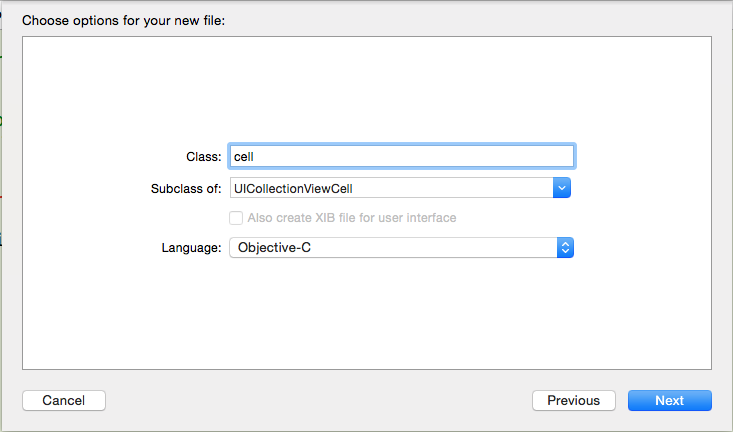
同样,storyboard中把cell视图的父类也改成新建文件的cell:
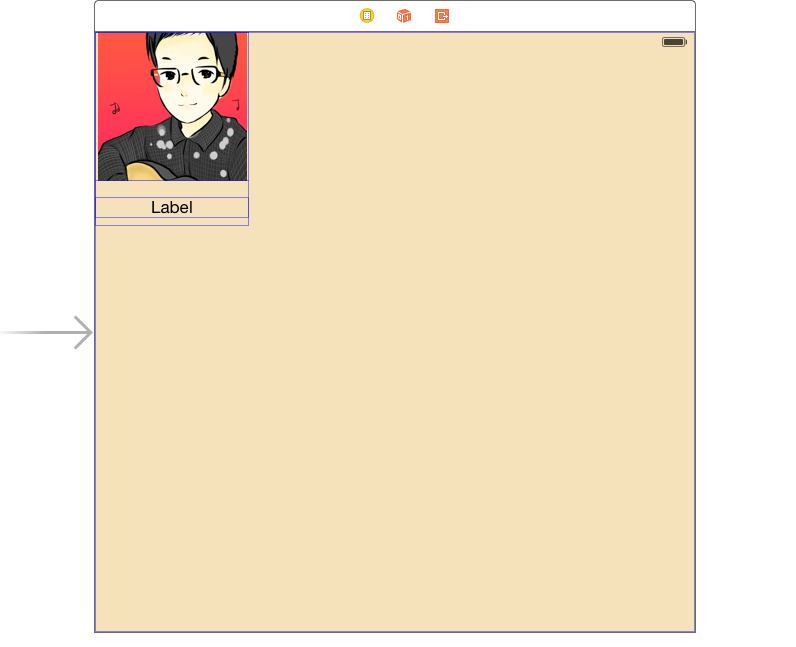
5、布置cell
为了美观,可以先把Collection View 的背景色改成其他颜色,黑色实在不美观。
然后你可Images.xcassets 中放入一种图片。
现在,你可以拖一个UIImageView 和 一个UILable到cell上面,自己调整好大小并设置imageView的图片为刚才你添加的那张照片,完成之后像这样:
为了更美观,我们可以设置内边距。选中Collection View Flow Layout,然后修改其Section Insets,我这里上、左、下、右分别缩进10px:

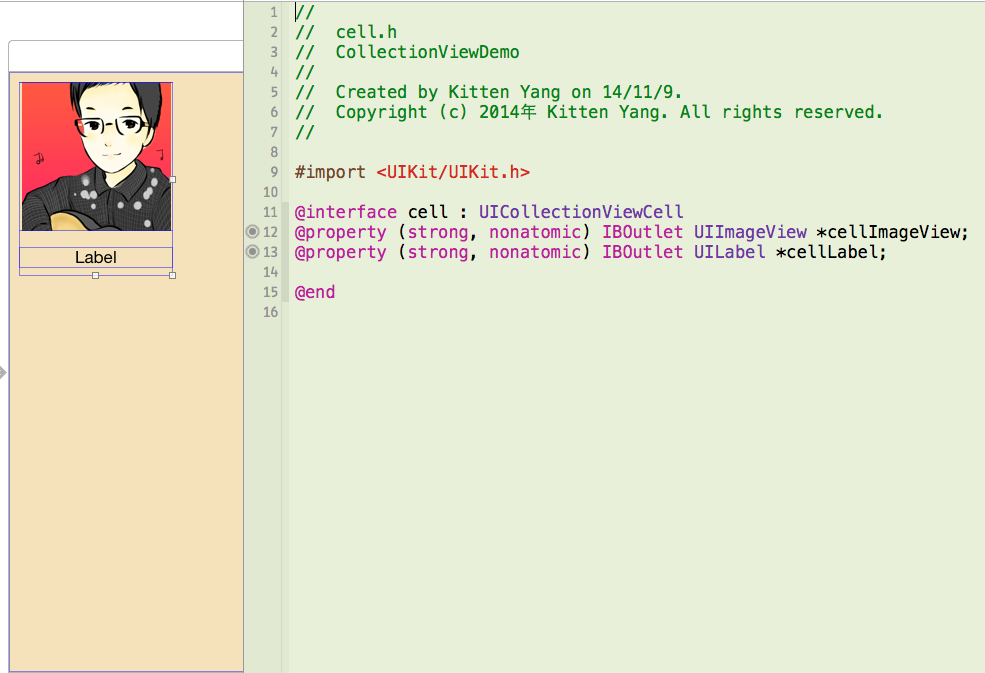
6、视图与代码连线
分别把Storyboard中的UIImageView和UILabel在cell.h 中创建属性:
TIPS1:由于是用视图创建的变量,我们需要调用 -(void)awakeFromNib 去自定义视图属性,而不是用 -(id)initWithFrame:
你看,程序运行走的是-(void)awakeFromNib 方法,而不是-(id)initWithFrame :

所以我们调用-(void)awakeFromNib
-(void)awakeFromNib{
    [super awakeFromNib];
    self.backgroundColor = [UIColor randomColor];
}
为了美观,我使用了随机色,这是自己写的一个对UIColor的Category,代码如下: UIColor+KYRandomColor.h
@interface UIColor (KYRandomColor)

+(UIColor*) randomColor;

@end
UIColor+KYRandomColor.m
@implementation UIColor (KYRandomColor)

+(UIColor*) randomColor{
    CGFloat hue = arc4random() % 256 / 256.0; //色调随机:0.0 ~ 1.0
    CGFloat saturation = (arc4random() % 128 / 256.0) + 0.5; //饱和随机:0.5 ~ 1.0
    CGFloat brightness = (arc4random() % 128 / 256.0) + 0.5; //亮度随机:0.5 ~ 1.0
    return [UIColor colorWithHue:hue saturation:saturation brightness:brightness alpha:1];
}

@end
7、在CollectionViewController中实现UICollectionViewDataSource的协议
实现这两个必须实现的协议:
- (NSInteger)collectionView:(UICollectionView *)collectionView numberOfItemsInSection:(NSInteger)section;
- (UICollectionViewCell *)collectionView:(UICollectionView *)collectionView cellForItemAtIndexPath:(NSIndexPath *)indexPath;
第一个返回每一个Section的item的个数,我们返回20:
- (NSInteger)collectionView:(UICollectionView *)collectionView numberOfItemsInSection:(NSInteger)section{
    return 20;
}
第二个实现cell的复用:
- (UICollectionViewCell *)collectionView:(UICollectionView *)collectionView cellForItemAtIndexPath:(NSIndexPath *)indexPath{
    static NSString *identifier = @"myCell";
    Cell *cell = [collectionView dequeueReusableCellWithReuseIdentifier:identifier forIndexPath:indexPath];
    cell.cellLabel.text = [NSString stringWithFormat:@"第%ld幅图",(long)indexPath.item];

    return cell;
}
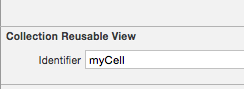
这里切记:
1、
static NSString *identifier = @"myCell";
一定一定要和这个Collection Reusable View的Identifier一致!!我今天就坑在这个地方。
2、用了Indentifier 之后,就不能用代码注册cell了
 // 不需要以下代码了 ---
 // Register cell classes
    [self.collectionView registerClass:[UICollectionViewCell class] forCellWithReuseIdentifier:reuseIdentifier];
3、用XIB或SB设置好了CollectionView的UICollectionViewDataSource 之后,不需要在代码中重复声明协议。
运行,搞定。(如果你只有1列或者3列,那是因为你的单个cell太大了,调整cell的大小就可以了)
转载请注明出处,万分感谢!